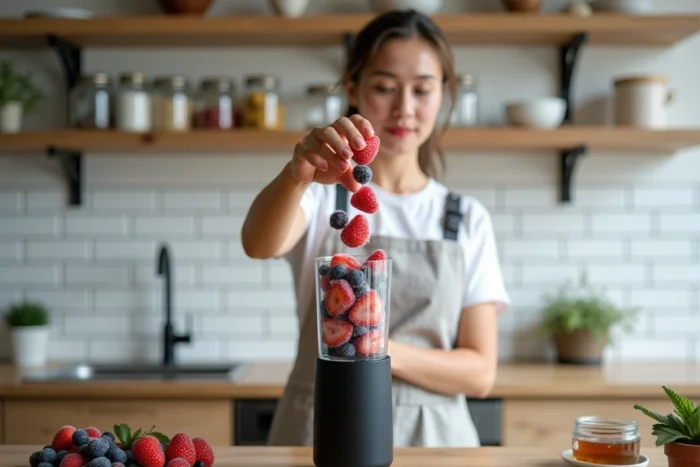
Your blender is spinning in vain, frozen fruits bouncing against the blades, and the result looks more like a chunky granita than a creamy smoothie. The problem rarely comes from the appliance itself. The way you prepare and introduce the frozen fruits into the blender bowl changes everything about the final result.
Blender Power and Tempering Time for Frozen Fruits
Have you ever noticed that some blenders struggle to crush pieces of mango straight from the freezer? The motor’s power directly determines whether your fruits need to be tempered before blending.
Below about 700 W, the blades don’t have enough strength to tackle hard fruit blocks like ice. The motor strains, heats up, and the texture remains grainy. Letting the fruits sit for 5 to 8 minutes at room temperature before blending solves this problem on modest power devices.
A blender above this threshold easily crushes fruits that are still completely frozen. But even with a powerful appliance, a slight tempering of two to three minutes results in a more homogeneous texture and reduces blade wear. As several specialized resources explain, whether you can put frozen fruits in a blender according to Gourmandel also depends on the type of appliance used and the size of the bowl.
Immersion blenders are the most limited for this task. Their motor and design do not allow for the vortex necessary for blending. If this is your only tool, cut the fruits into small cubes before freezing and extend the tempering time.
Order of Layering Ingredients in the Bowl
The order in which you stack the ingredients in the blender bowl is not a detail. Liquids always go at the bottom, closest to the blades. This allows the vortex to form and draw the solid pieces down.
Here’s the sequence that works for most standard blenders:
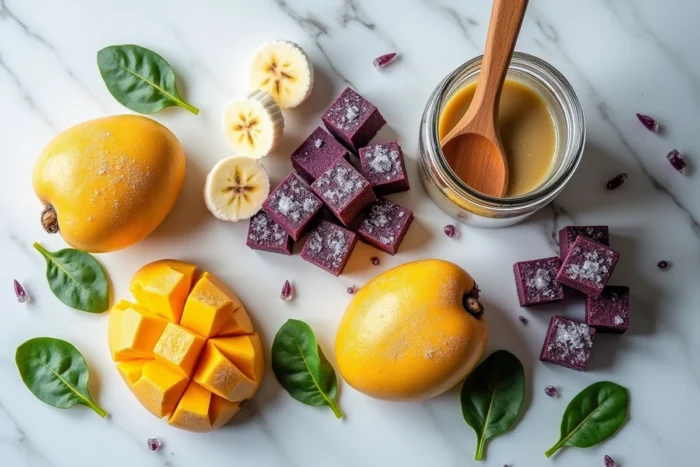
- The base liquid first (milk, plant milk, coconut water, juice), directly on the blades
- The soft ingredients next (fresh banana, yogurt, peanut butter, oats)
- The frozen fruits last, on top, as the upper layer
This simple logic prevents air pockets that block the blades. When hard fruits are placed at the bottom without liquid, the blender creates an empty space around the blades and spins in vain. The noise changes, the motor strains, and you have to open the lid to manually pack it down.
Placing the frozen fruits on top also limits blockages. Their weight naturally pushes them towards the blades as the liquid begins to circulate.
The Case of the Reverse Blade Blender
Some personal devices (like Nutribullet or portable blenders) have the blades on top since the cup is inverted. The logic is reversed: the frozen fruits go to the bottom of the cup, with the liquid on top. Once flipped, the fruits end up near the blades.
Liquid to Frozen Fruit Ratio to Adjust Texture
The amount of liquid compared to frozen fruits determines whether you get a smooth drinkable smoothie or a thick smoothie bowl to eat with a spoon. Too much liquid results in a watery drink with no body. Not enough, and the blender jams.
A ratio of one part liquid to two parts frozen fruits gives a classic creamy smoothie. For a denser smoothie bowl, reduce the liquid further and add the frozen fruits in a larger proportion.
The type of frozen fruit also influences the final texture. Frozen banana adds a natural creaminess due to its starch content. Red fruits (raspberries, blueberries) yield a more liquid result at equal quantity. Mango and pineapple fall somewhere in between.
Adjusting Without Ice
A direct advantage of frozen fruits: they replace ice. No ice means no dilution over time. The smoothie retains its flavor and texture even if you don’t drink it immediately.
If your smoothie is too thick after blending, add one tablespoon of liquid at a time and blend for a few seconds. Pouring a large volume all at once changes the texture irreversibly.
Freezing Your Own Fruits for Better Smoothies
Store-bought frozen fruit bags work well. But preparing your own frozen fruits gives you total control over the size of the pieces, which affects the blender’s performance.
- Cut the fruits into pieces no larger than two centimeters before freezing, so the blades can easily catch them
- Spread the pieces in a single layer on a baking sheet lined with parchment paper, freeze flat for a few hours, then transfer to an airtight bag
- Remove as much air as possible from the bag to limit frost, which dilutes the smoothie and alters the texture
- Bananas should be peeled and sliced before freezing, as their skin becomes impossible to remove once frozen
Freezing flat prevents compact blocks that even a powerful blender struggles to handle. Separate pieces blend much faster and more evenly.
Freezer Storage Duration
Homemade frozen fruits retain their flavor qualities for several months in the freezer. Beyond that, the taste fades and frost accumulates. Note the date on each bag for easy rotation.
The choice of fruit also matters. High-water-content fruits (watermelon, melon) yield a more icy than creamy result once frozen. They work better as a complement to a creamy base like banana or yogurt than as a main ingredient.
One last often-overlooked point: the cleanliness of the blades directly affects the result. Dry residues stuck to the blades reduce their cutting efficiency. A quick rinse with hot water and a drop of dish soap, followed by a few seconds of blending empty, is enough to keep a blender performing well between uses.