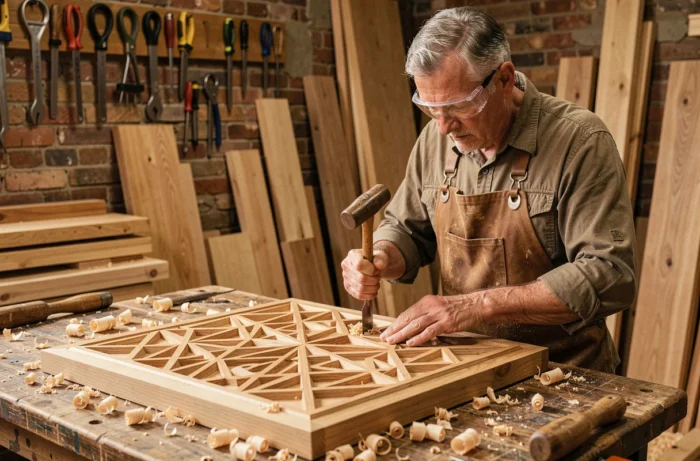
The moucharabieh, a perforated panel of oriental origin, has established itself in contemporary interiors as a means of separation and light filtering. Making your own wooden moucharabieh remains accessible as long as you master a few often underestimated technical constraints: frame sizing, choice of batten section, type of assembly according to the intended use. The result depends less on the chosen pattern than on the rigor applied to these structural steps.
Batten Section and Pattern Density: The Technical Compromise
The section of the battens determines both the visual aspect and the mechanical strength of the panel. A section of about 10 x 10 mm produces a fine and dense effect, visually close to the traditional moucharabieh. The smaller the section, the lighter the panel appears visually, but the more it loses in mechanical strength.
With thicker battens (15 x 15 mm or more), the pattern appears more massive. The result then resembles a contemporary screen rather than a true moucharabieh. The choice depends on the viewing distance: a panel seen from afar can support wider sections, while an element close to the eye (headboard, office partition) requires a fine section to maintain the subtlety of light play.
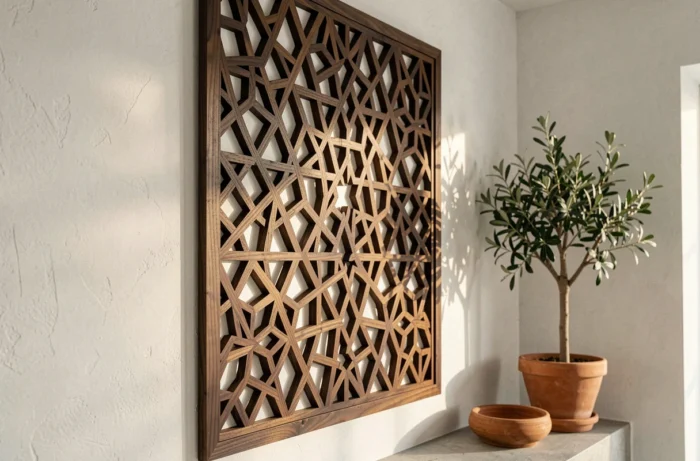
To delve deeper into the design principles and pattern variations, the wooden moucharabieh according to Direct Habitat details several configurations suitable for a residential interior.
Supporting Frame of the Moucharabieh: Avoiding Warping
A perforated panel without a rigid frame will deform within weeks, especially in a humid room or one exposed to temperature variations. The perimeter frame must be at least sized at 30 x 50 mm for a panel about one meter wide.
Before fixing any internal batten, it is essential to check the squareness of the frame by measuring the diagonals. A discrepancy of a few millimeters is enough to make the entire pattern asymmetrical. This step may seem elementary, but field feedback shows that it is the primary source of failure in amateur constructions.
Intermediate Reinforcement for Large Panels
Beyond one meter twenty in width, an intermediate post becomes necessary to prevent the frame from bending under the cumulative weight of the battens. This post can be concealed within the pattern by aligning it with a crossing line.
Assembly of Crossings: Glue, Half-Lap, or Both
The type of assembly at the crossings of the battens radically changes the strength and purpose of the panel. Three options are available:
- PVA glue alone is suitable for a decorative panel fixed to the wall, which does not undergo any mechanical stress. It is sufficient if the moucharabieh remains a purely visual element.
- Half-lap assembly at the crossings is preferable as soon as the panel serves as a freestanding partition or sliding door. Each batten is notched to half its thickness to fit into the perpendicular batten, creating a strong mechanical connection.
- The combination of glue and half-lap offers the best durability. It requires more preparation time (each crossing must be notched individually), but the result withstands daily stresses.
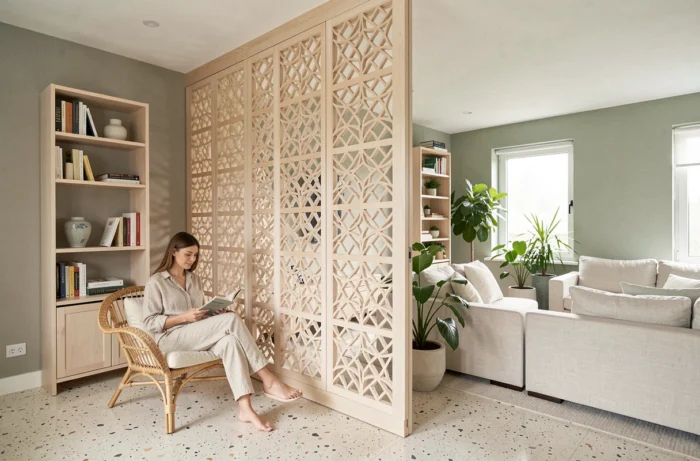
On a one-square-meter panel with a tight grid pattern, the number of crossings quickly exceeds one hundred. The half-lap notch at each intersection thus represents a considerable time investment. For a lightweight partition with a frame securely fixed to the wall or ceiling, glue alone may suffice, as the mechanical stresses on the crossings remain limited.
Suspended Installation and Wall Fixing: Two Different Logics
The moucharabieh can delineate a space without touching the floor. Suspension by steel cables fixed to the ceiling creates a remarkable lightness effect between two areas of an open room. This technique requires at least two solid anchoring points (joist, beam, plate on concrete slab) and a balanced weight distribution.
Classic wall fixing, with brackets hidden behind the frame, remains simpler. It is suitable for a decorative panel positioned in front of a window or as a cover for a radiator. In this case, allow a space of at least a few centimeters between the wall and the panel to permit air circulation.
Finishing the Wooden Moucharabieh: Sanding and Protection
The sharp edges of the battens catch dust and can cause injury. A slight rounding on each edge, achieved with sandpaper or a router with a rounding bit, changes the perceived quality of the panel.
Progressive sanding up to grain 180 prepares the wood for finishing. Two thin coats are better than one thick coat: in the notched corners, an overly generous application causes visible runs in backlight, precisely where light passes through the pattern.
Choosing the Finish According to the Wood Type
Softwood (pine, poplar) accepts a tinted stain well, giving it depth. Hardwood (oak, beech) can remain raw with a simple matte varnish. Hard oil offers an interesting compromise: it nourishes the wood without creating a surface film, preserving the natural feel of the material.
- Tinted stain: suitable for softwoods, masks grain defects
- Matte or satin varnish: protects without altering color, ideal for hardwoods
- Hard oil: natural finish, easy maintenance through local reapplication
The custom-made wooden moucharabieh adapts to almost any interior configuration, from room separation to wall decoration. A rigid and square frame, a batten section consistent with the desired effect, and an assembly suited to the mechanical constraints of the panel: these three technical parameters determine the durability of the whole.